Blog
Atlassian
News
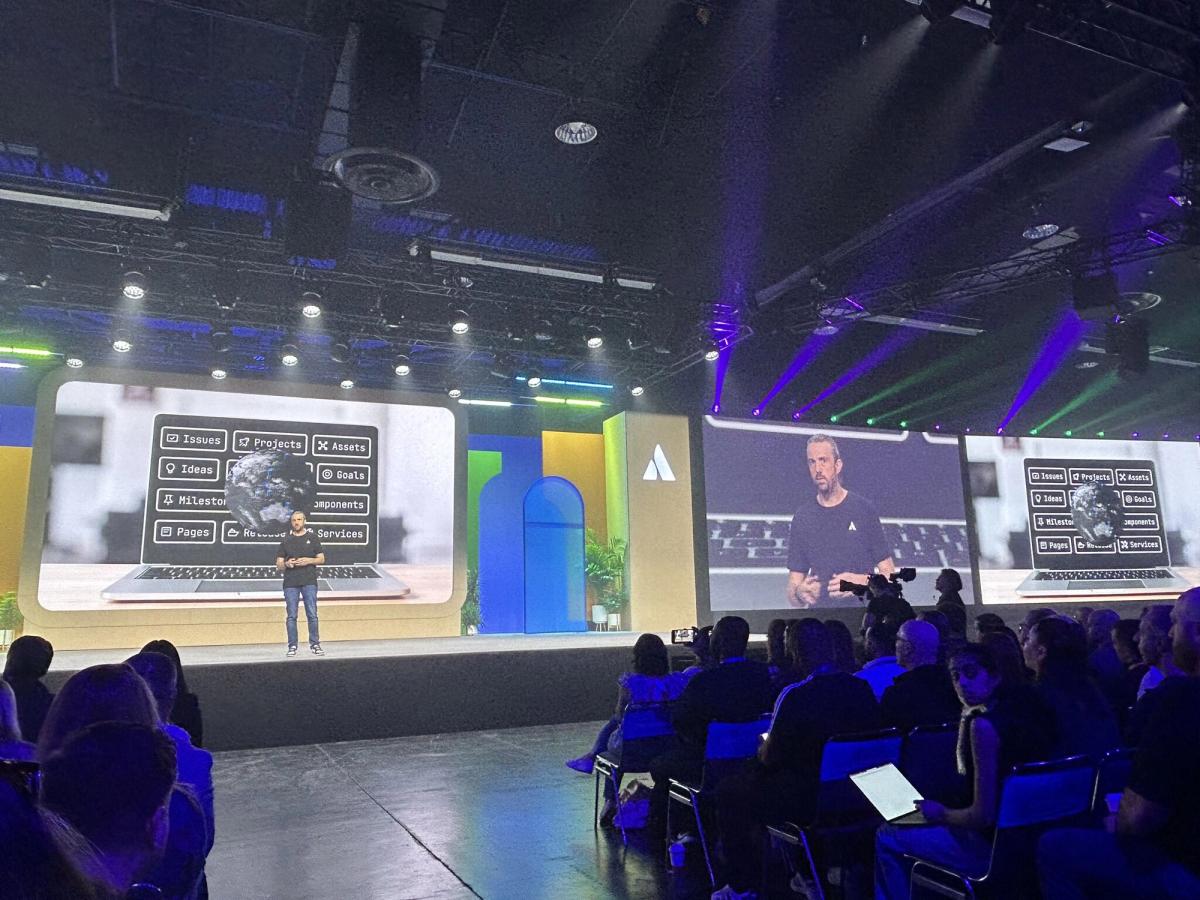
Atlassian Team ‘25 Anaheim Founder Keynote—what you need to know
Key announcements from Atlassian Team '25 Anaheim. New AI, teamwork, and strategy updates for your Atlassian tools.
By The Adaptavist Group
on 15 Apr 2025

The global outage: how to manage the impact of service disruptions
In an increasingly online world, a cyber outage can bring businesses around the globe to a standstill.
By Nikos Georgakopoulos
on 24 Jul 2024
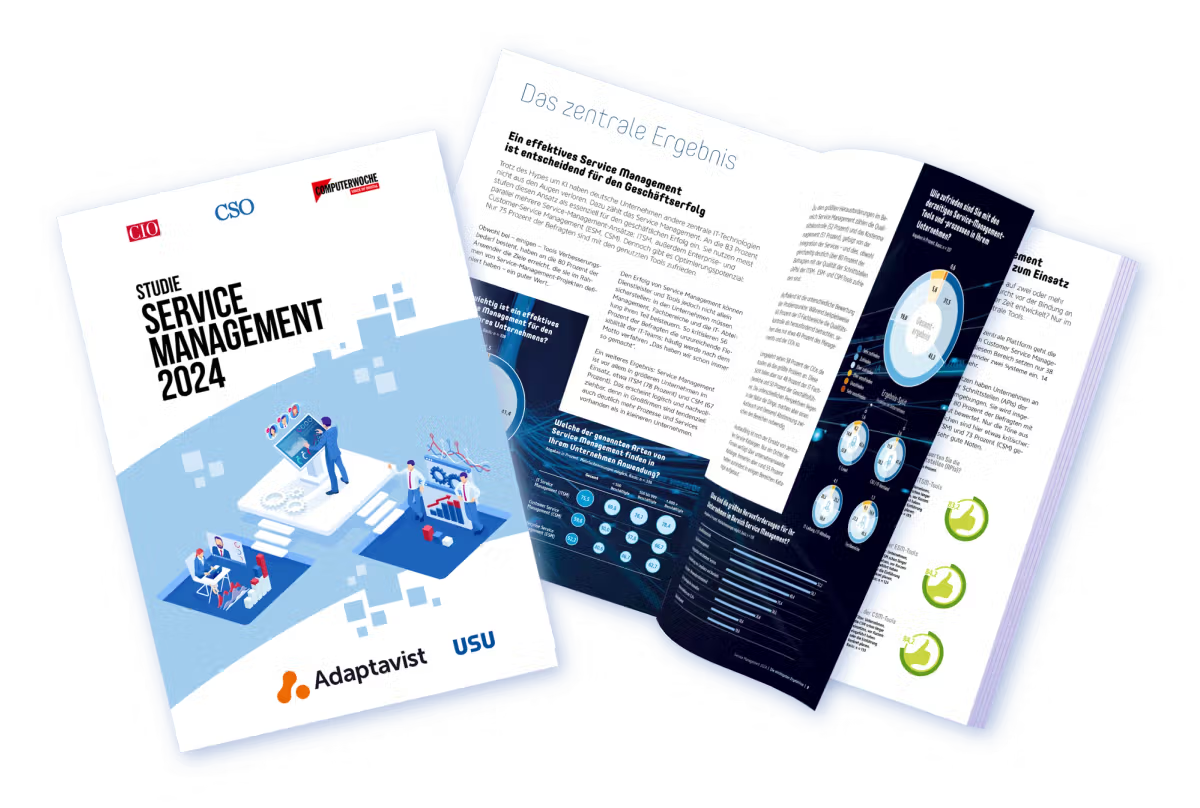
Service management in focus: Identifying and leveraging untapped potential
Discover the importance of service management for business success and how artificial intelligence and cloud computing are shaping the future.
By Alexander Post
on 22 Nov 2024

Five common challenges that CRM can solve
Discover five common business challenges and how CRM systems provide solutions to drive success.
By Danny Coleman
on 7 Apr 2026

Work management
Atlassian
How marketing teams can use Atlassian tools to work smarter
Want to streamline your marketing workflows? Find out how Atlassian tools can make collaboration seamless and efficient.
By Michael Rudenko
on 5 May 2025

Atlassian Strategy Collection: Operationalise strategic plans
Learn how the Atlassian Strategy Collection, launched at Team '25, combines Focus, Talent, and Jira Align to help leaders connect strategy to execution and talent across the organisation.
By Phill Fox
on 2 May 2025

Discover the power of CRM: Why every company needs a CRM system
CRM systems are vital for nurturing customer relationships amid evolving work practices. This blog explores their role and importance in today's competitive market.
By Danny Coleman
on 2 May 2025

No room for error: the critical role of Quality Assurance in cloud migration
Businesses are moving to the cloud for better scalability and performance. A strong QA strategy is key to a smooth migration and optimised post-migration performance.
By Sandesh Kumar
on 29 Apr 2025

What's new with AI on monday.com?
A closer look at the latest AI offerings from monday.com, and what they mean for your work management practice and beyond.
By Danny Coleman
on 28 Apr 2025